Showing posts with label Framed. Show all posts

Saturday, August 13, 2022

Happy Day!

 I have quite a number of birthdays in August between family and friends.  I'm feeling behind already, so I got my thinking cap on and decided to get serious!  With some help from Splitcoaststamper challenges, I came up with a vintage design that I'm really pleased with! It will be for one of my husband's sisters, who moved to Florida in this last year to be closer to her oldest daughter. I'd better get it finished and off in the mail as she lives about as far from Washington state as she could be...kitty-corner across the U.S.!


I found this wonderful vintage paper in my paper stash from Michael's Craft Stores, "Recollections Signature Vintage Country Paper Stack. It got my vintage mojo going full speed ahead, which made me really excited to get started!  Vintage is one of my favorite card styles, yet I haven't made many cards in this style during the past several years.


I used five patterns from the paper pack that I cut into varying widths and distressed inked the edges before horizontally layering them one after the other, on  a pre-sized cardstock guide.  I also used one of the patterned tags provided in the paper stack as my sentiment rectangle centerpiece. I stamped my birthday sentiment onto it using my Misti stamp positioner, and I adhered the finished tag onto a black lattice frame for added interest.  I fussy cut several identical flowers from several of the tags and layered and distressed their edges to provide additional depth, finishing off with a sparkly gem. My last addition was to add a black-striped sheer ribbon horizontally with a two-loop side bow.  Take a look at my finished card. I'm pretty pleased with its outcome.


Ingredients: SU Cardstocks--Basic Black, Gold Foil. Patterned paper--Recollections Signature Stack--Vintage Country (12x12). SU Stamps--Itty Bitty Birthdays. Spellbinders dies--Lattice Rectangles. Ink--Memento Tuxedo Black. Colorbox--Chestnut Roan ink distressing. Offray--3/8" sheer black stripe ribbon. Jolee's Boutique--Black Circle Bling Gems. Chatterbox verse. Size--4-3/4" x 6."

Friday, November 23, 2018

Thinking You Much Better Real Soon!

One of my lady friends that I met at my September Girls' Get-Away has had a set back in her health.  I wanted to send her a card to let her know I've been saying some prayers and having positive thoughts to wish her much better real soon!  I had a few Splitcoaststamper challenges to get done in my on-going challenge catch-up goal, and with a few of those in mind, I set about to design and make a card for my friend.

I needed to use a shade of yellow called Xanthic in order to finish the Alphabet Challenge in Round 9, and with this in mind, I search for a dress on the Inspiration Challenge website with at least some yellow that could inspire me for the rest of my card.  I found the perfect floral dress. Now, I knew my card had to have flowers.  My layout idea and focal point were inspired by the Featured Stamper challenge, plus I had several old challenges to complete that required a stamped frame, plus an old technique.  I had some good ideas. . .my mojo getting juicy, so it was time to find some papers and get started.  Take a peek at my finished card below, I think she will enjoy the card, and I know I will enjoy crossing off some more completed challenges on my list!


Ingredients:  Papers:  SU cardstock--Basic Black, Gumball Green, Daffodil Yellow; SU Vellum; Patterned Paper--Basic Grey/ Origins.  Stamps:  SU--Serene Silhouettes (white flower stems), Lovely Wishes (frame flower); Our Daily Bread Designs--All Mother's (sentiment).  Inks: Memento--Tuxedo Black; SU White Craft Ink; Versamark.  Dies: Sizzix Labels Collection (frame).  Punches:  SU--Curvey Corner Trio (retired), Bitty Butterfly (retired).  SU Black Embossing Powder.  SU 2mm pearls.  SU Simply Clay:  Simply Pressed Clay, Buttons & Blossoms Simply Pressed Clay Mold (2013-14 both retired).  Stash: Bitty flower brad.  Copic markers: coloring for clay + brad.  Chatterbox verse.  Size:  5-3/8 x 6-1/8 inches.

Thursday, November 15, 2018

An Angelic Heavenly Host Comes to Visit!

I wanted to finished the third and final Pre-Virtual Stamp Night Mini, which required a Christmas card made with the traditional colors of red and green, because these are the colors that Dr. Seuss' Grinch dislikes intensely.  I also wanted to play my personal "catch-up challenges" some more as well!  So, I went in search of what else I could put on my card beside red and green that would meet other challenges.  I found that winged things worked, and if it was a winged angel, formally called a heavenly host, my card would fulfill even more.

Last year while attempting to make my Christmas cards, I printed a darling pre-colored vintage digital image of a sweet little angel and two wee birds singing together, but it did not get used.  I was stoked...my winged creatures from my pre-made stash works for the VSN with no time against me!  I had three glittery frames in white, green, and red that I also made for last Christmas and did not get used when my Christmas crafting was cut short with my hand strain issues.  I found if I framed my image, another challenge could be met, and on it went.  I found some inspiration from the current Inspiration challenge, which is what prompted me to use the angel image.   Now, my mojo was really simmering!


An older Featured Stamper and Sketch challenge both helped with decisions regarding the layout.  Now that I had a basic layout idea in mind, it was time to gather all my materials and tools that I might possibly need.  My first step was to find the perfect paper that would work with one of my pre-made glittery frames, plus embellishments, ribbon, dies, punches, etc.  I find I always gather more than I end up using, but at least it is at my fingertips if I do need it as time is of essence in the Virtual Stamp Night challenges.


I set my timer for one hour, and let the fun begin!  I started to get nervous when I had used 40 minutes to cut my paper layers, complete the ink distressing, adhere the layers, add my ribbon band, cut my die-cuts, punch snowflakes, make my bow, and prepare my framed image and pop it up.  I still needed to make a computer sentiment layer to fit my red tag die-cut.  Fortunately, I had another sentiment saved in my computer that fit a one-inch circle punch.  I copy/ pasted it, changed the words and ink color, and it was good to go!  Thank heavens my printer did not give me fits as it can do from time to time!  


That was a close one...I used 55 minutes!  I used my extra five minutes to add some Wink of Stella glimmer to my pre-colored image angel and birds, which does not show up too well in the picture.  Take a peek at my finished card. . .I think I'm pretty happy with it.


I didn't like how much time it took to make the sentiment tag using the computer; it cut the deadline time too close for comfort.  Since I do like to use sentiment tags, I've decided to make a bunch in different colors and sentiments and pre-punched them for my stash.  They just might come in handy for the VSN main event in December.  If not, I am sure they will get used eventually.  


In addition, I plan to download, size, and print more pre-colored Christmas images that might come in handy, plus die-cut some additional frame styles using different types of paper and colors.  I punched more bitty snowflake in more colors.  I had white ones pre-punched, as well as silver, lime green and aqua, but no Emerald Green or Red...can you believe that!  Not sure why I had lime-green. . .that was interesting!


Ingredients:  Papers~  Stampin' Up cs--Chocolate Chip (retired); Recollections Glitter Paper--Cherry, Evergreen, Snow;  Stripe--Recollections Signature Sugar Plums Pad.  SU Ink: Soft Suede (edge ink distressing).  Dies~ Spellbinders: Triple Floral Squares (frame), Delightful Circles (tag back).  Punches~ EK--1-inch Circle; Recollections--5/8" Snowflake.  Ribbon Stash:  5/8" Emerald Sheer.  Pre-made Stash: Angel & Birds pre-colored digital image (3 in.), Green Glitter Frame.  Wink of Stella--Clear & Gold.  Stash: Acrylic Sheet (stablizing framed image).  Chatterbox verse/ sentiment.  Size 4-3/4 x 6 inches.

Saturday, March 10, 2018

Miss Callie's First Birthday!

My granddaughter is having her first birthday!  Oh, how exciting and so much fun to make her a one-year old birthday card!  I've been busy making ice-cream cakes for the birthday party event, so have left myself little time to get her birthday card finished!  I did start on it because I wanted to try a technique that I've been eyeing for more than a year called Faux Tile Sponging, which is similar to Delft Tiling, except you don't stamp a pattern on the tiles to get a similar look to Delft pottery.  The two techniques are similar in that you do make a diagonal grid scored background on both and sponge ink onto scored grid by using a mask over your score lines and sponging color onto the edges of your tiles. 


Before I figured out what cute focal point I wanted to use or planned my layout design, I visited the Splitcoaststamper challenges forum to see what inspiration I might find.  I planned to use the Alphabet Challenge, Round 8, Letter Y for yellow, but when mojo arrived from the Inspiration Challenge, I decided to go with Letter G for giraffe!  I found the foundation for my layout by visiting the Featured Stamper's gallery of Bronwyn Eastley.  I did modified Bronwyn's original layout quite a bit to make it fit my baby theme for my card!   Take a look below at granddaughter Callie's birthday card, plus the inside design with Grandma's created verse.  I'm thinking she will like it, especially when she's around four to five years old!


Ingredients:  Stampin' Up cardstock:  Very Vanilla, Lemon-Lime Twist.  Stampin' Up Ink: Daffodil Yellow, Lemon-Lime Twist.  Precious Moments Coloring Pages digital image.  Copic Markers.  Wink of Stella-Clear.  Die: unknown/ gift.  Ribbon: stash.  Stampin' Up Pearls.  Technique: Faux Tile Sponging.  Size: 4-3/4" x 6".

Monday, September 4, 2017

First Christmas for a Little Husky Named Zhanna!

OVER THE MOON!!!

THIS WAS ONE OF TEN OF MY 2017 CARDS 

RECEIVING A 2017 SCS BEST OF FAVORITES!!


HAPPY MAIL TIDINGS!  

THIS CARD IS NAMED A

SPLITCOASTSTAMPERS FAVORITE OF THE

WEEK ENDING - SEPTEMBER 9, 2017!!


You would not believe how long this card has been in the making!  I colored the image at my Girls' Craft Get-Away in late May!  I only brought coloring with me because it was so soon after my knee replacement surgery, and I knew I wouldn't be getting up and down a lot.  See my first Christmas 2017 card below.  The "story" follows.


Ingredients:  Papers:  Recollections--Punchy Florals Pack (card base); Core'dinations Silk Glitter Opulent Oval cs; Stampin' Up--Silver Glimmer; Stampin' Up--Winter Frost dsp (retired).  Digital image/ Copic coloring.  Dies: Spellbinders--Floral Ovals; MFT--Stitched Oval Scalloped Frame; MemoryBox--Snow Burst (snowflakes).  Punch: Recollections--5/8" Snowflake.  SU: Glitter Enamel Dots.  Size: 4-3/4" x 6".


The Story!


I was about half way through coloring my little image and was putting finishing touches on my little girl before moving onto her shoes and the puppy, when I applied the wrong color of Wink of Stella (gold instead of clear) onto her furry coat bottom.  After getting back from my craft retreat at the end of May, it took two weeks before I could get into my craft room...the knee was just too painful to sit and twist in and out from under a table.  The get-away kind of took a tole on me and my recovery.

In the second week of June, I re-colored my little image once again.  I used some mojo and came up with a pretty clear idea of my layout, and completed the white oval glittery frame for her, which is actually two dies together.  See Ingredients below for die names.  That's when I came to a screeching halt! I wasn't able to do much crafting yet, and I had two get well cards, two graduations, five birthdays (that I got done), two Father's Day cards, an anniversary, and an award card that interfered with finishing this card.  Three months later, I've actually finished the card!  (Theatrical bow being done!)

I worked on this cute little image so long that I gave my little Eskimo girl and her little female Siberian Husky puppy names.  The little girl is Lara and little husky's name is Zhanna, which is a Russian name.  This puppy will grow up to be a sled dog, and I wanted her to have a strong name, because she will be a glorious sled dog, probably a lead dog, and her name needs to fit her heritage and who is is!  Because of Zhanna, I will be able to enter my card into the Splitcoaststamper's Alphabet Challenge, Round 7, Letter Z.

I will also enter this card into two other Splitcoaststamper challenges.  To finalize my card, I used the colors from a fellow Splitcoaster in the Featured Stamper Challenge, and Christmas in July, because that was my original intended time to finish this card.  Alas, that did not happened, but I'm entering late.

In addition, she will be entered into a fourth challenge that was her original purpose when I first got started on the idea for the card, which is the very first Christmas 2017 for January with the theme of making a card using a sled, snow tube, snowboard, or skiing.  We have all the themes for the year, and we can make them whenever we want, BUT, I think I can safely say I am way behind!  My challenge to myself was to make 24 cards/ two each for each month's challenges, and here we are in September and this is my first!  Shame on me!

Thursday, June 22, 2017

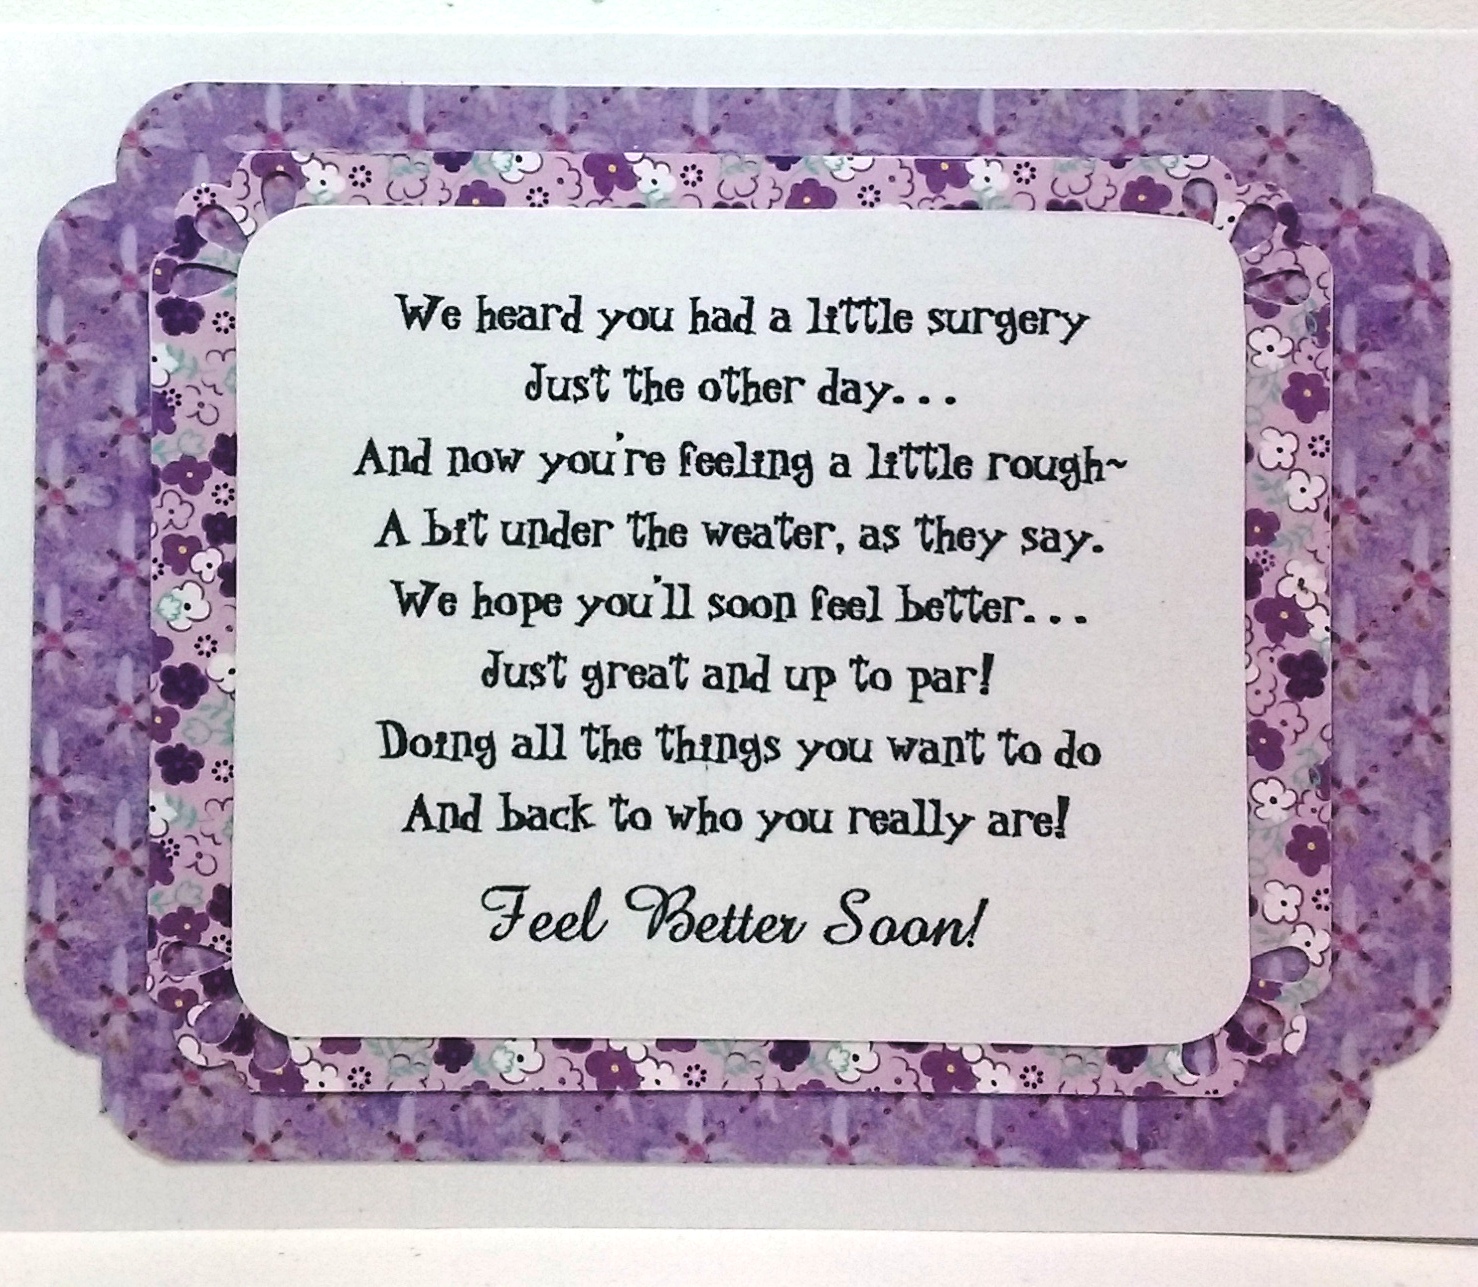
A Brainy Get Well!

A good friend and cardmaking buddy had brain surgery for repair of the trigeminal nerves in the brain, caused by a rare condition known as Trigeminal Neuraligia.  This condition caused her chronic pain in the area supplying feelings, by the trigeminal nerve, to the cheek, jaw, teeth, gums, lips, or less often the eye and forehead.  Bouts of pain can last from a few seconds, several minutes, days, weeks, months or longer (some people have periods when they have no pain at all for weeks or months).  Her surgery seems very successful, though she can not be sure of the exact results for up to several months.


I wanted to make Charlene a pretty get well card that was cute and cheerful, letting her know how much I can't wait until she can join us again at the crafting table!   After mulling around several ideas, I saw Sketch Challenge SC649 on Splitcoaststampers, issued June 14th.  I really thought I could do something with this sketch idea, using a colored image in a cute round frame.  
After completing my outside design, I created a little verse and designed the inside to coordinate with the front.  Take a look at her finished card below, both inside and out:  


As it turned out, I took some liberties with the sketch elements, which we are allowed to do.  Take a look at the original sketch that I worked with:


My little girl image shouted out for a square frame instead of a round one, and its angled band called for a straight and wider band to blend with my square frame.  I also decided to add a couple of corner curves and eyelets cut-outs to spruce up my layers and a sheer ribbon and bow.  I hope Charlene will enjoys her card as much as I had fun making it!


Ingredients are listed below:

Cardstocks:  Recollections Essentials (Violet); SU Whisper White. Patterns: Recollections: Purple Ditsy Floral; K&Co.-Watercolor Bouquet-Purple. Color Digital Image: Bandaging Kitty.  Die: Spellbinders: Classic Squares SM; Lacey Squares. SU Punch: Three Corner (retired).  EK Border Punch: Patterned Circles (cut in half).  Offray 5/8" Sheer Violet Ribbon.  Bath & Body Works-Magic in the Air/ Diamond Shimmer Mist. Frame (outside): 3-1/4". Frame (inside: 2-1/4".  Card Size:  4-3/4" x 6".

Wednesday, November 2, 2016

Celebrate a Friend With Her Bowling Ball!!

Happy Days!  This card was chosen as a

SPLITCOASTSTAMPERS FAVORITE OF

 WEEK ENDING - NOVEMBER 20, 2016


I have a friend whose birthday I will soon be celebrating by taking her to lunch and sharing a little gifting benevolence.  One of her favorite hobbies is bowling, so I thought I would make her a bowling birthday celebration card, using a little vintage framed image that I came upon a few months ago.  I saved it to my computer's vintage image stash of pictures for future use.


About a month ago, I pulled out the bowling lady image to get a head-start on my card and worked on it a bit to enhance the colors and remove some vintage writing that I did not care to include on my card.  I then re-sized it to fit my die-cut frame I planned to use.  Not having time to begin my card, I put it away for my return from my travels south to Oregon with my daughter.


Today was the day to get started on this bowling card for my friend.  While I was away for over two weeks, I couldn't do any crafting, but that didn't stop my mind from visualizing my vintage bowling picture and how it might look best in a card layout.  With those ideas in mind, I found some papers that would go well with the Fall season and the image colors, and then I worked on finalizing my design layout and got to work.


My bowling card is now done, and in retrospect, I wish I had introduced a bit more red into my card, because of my bowling lady's little red skirt and bow, but all in all, I think I'm pretty satisfied.  I hope my friend likes her card when she finally gets her birthday luncheon!


Take a peak below at my finished inside card design and little verse I concocted for my friend's late birthday card!


Ingredients:  Darice Kraft cardstock.  BasicGrey patterned paper--Pyrus: Cordata (both sides), Pyrus: Regul.  Authenique word paper--Strong: Clever.  DCWV Glitzy Glitter Stack: Antique Gold.  Stamps--My Favorite Things:  Essential Sentiments.  Dies--Spellbinders: Deckled Rectangles LG, Rectangles LG (frame);  My Favorite Things: Chevron Stripes.  Punches--WRMK Deco Corner Chomper; EK Arrow Border.  Recollection Pearls: Dark Red.  Fishtail Flags: hand-cut.  Colorbox: Chestnut Roan (edge distressing).  Size:  5" x 6".  (SplitcoastStampers Thread: November 20, 2016 #43).

Friday, October 14, 2016

New Son-in-Law Has An October Birthday!

I jokingly told my youngest daughter when she became engaged that one of the criteria I should have demanded in her choosing a husband be that his birthday did NOT fall in October. . .but, wouldn't you know. . .another October birthday!!  Now, I needed to figure out what kind of a card would be best for my new son-in-law.  He has a number of activities and hobbies that he enjoys, which include car racing, riding ATV quads in the sand and dirt, dirt bike riding, hiking, and planning vacations.  These two just returned from a belated two-week honeymoon to Florida, where I am positive they went to every amusement park and tourist attraction in that State!

After giving it some thought, I decided I would do a racing car card, because Josh has a 1979 baby blue Chevy Camaro race car.  He and his father have been involved in short-course racing since Josh was a young boy.  Though he has not raced his baby blue Camaro for a few years now, I am sure that at some time in the future, he will pick up this life-long hobby again.  Since I could not find a 1979 Chevy Camaro image to color, I decided on a 1969 RGX Camaro, which according to what I read is a much desired car.  Personally, I did not see a lot of difference between the two cars when I looked a photographs of actual cards, especially with the digital image that I found online of the 1969.  Take a look at Josh's finished card inside and out. . .I think he will be very pleased with one of his mother-in-law's homemade birthday cards made with only him in mind.


Ingredients:  Stampin' Up cardstock: Night of Navy, Old Olive, Vintage Natural.  Darice Core-dinations Glitter Paper: Ball Gown. My Mind's Eye pattern: Lost & Found Two/ Breeze Boyish Plaid.   Graphic 45: Happy Haunting (black/cream check).  Spellbinders: Deckled Ovals LG, Nested Ovals SM.  Sizzix BigDie: Weathered Clock.  EK Punch: Scalloped Corners-LG.  WRMK Punch: Deco Corner.  Heidi Swapp Metallic Accents.  Stampin' Up Glitter Brad.  Google Online: 1969 Chevy Camaro digital image.  Copic Markers.  Computer-made sentiment/ verse.  Size:  5-3/8" x 6".  

Sunday, September 18, 2016

Retirement Congratulationns Are in Order!

My friend and cousin-in-law has just retired after many years working for Koch Industries.  She will now join the ranks of us who enjoy everyday being Saturday and can go to bed at night and not have to set the alarm for tomorrow morning!  To commemorate this milestone in her life, I wanted to make and send her a congratulations retirement card.  I love black and yellow together so that is the color scheme I decided to use.  I hope she is careful to following the suggested things to do during retirement found in the card inside. . .one of which is to relax!  Take a look below at my finished card inside and out.


Ingredients:  Stampin'Up cardstock: Daffodil Yellow, Basic Black.  MFT dies: Flutter of Butterflies.  Cottage Cutz Expressions dies: Congratulations (modified).  Sizzix Original die: Frame-Scallop Oval.  Stampin' Up punch: Curvy Corners (retired).  HugSnug: Goldenrod.  Darice Frosted Gems.  ColorBox: Chestnut Roan (distressing).  Patterned paper scraps.  Size: 4-3/4" x 6".

Sunday, August 18, 2013

My Lovely Daughter-in-Law's Birthday!

Ginger loves all things French, except maybe French Poodles. . .not sure about that.  She and my son took a trip to Europe about two years ago; her only wish was that she could have stayed longer and seen more!  


As I am generally known for making cards with the person in mind by thinking about what they like, their hobbies, their dreams, their bucket list, etc., I thought I would make a card that definitely says France. . .with the Eiffel Tower as the focal point.  I wanted the card to be immediately recognizable by almost anyone in our immediately family that this card was definitely for Ginger!  


I have a couple of Eiffel Tower stamps and even some dies, but I was looking online and at Pinterest and found many graphics and vintage pictures depicting various French items and scenes that I really liked.  In the end instead of using my stamps and dies, I went with a colored graphic that immediately brought to mind some papers I had in my stash that were begging to be used. . .and, voila. . .here is Ginger's card! 


Recipe:  Cardbase-Recollections: Spice Market-olive; Stampin'Up: DSP Patterns-Raspberry Ripple, Very Vanilla cs ; BoBunny Jazmyne-stripe/ floral vine. Colorbox Chestnut Roan (distress). Martha Stewart Corner punch. Spellbinders Fleur de Lis Rectangles. Stampin'Up Vintage Resin Rose. Inca Gold homemade spritz. Recollections colored half-pearls. Ribbon (stash): 5/8" Raspberry Organza, 3/4" Olive Organza. Glues: 3M Tape Glider, 3M foam tape, Glue gun.