Showing posts with label Stampin' Up stamps/ dies. Show all posts

Thursday, December 19, 2019

Thinking of You This Season!

On to my seventh Totally Lovin' Christmas card kit.  I loved the Crumb Cake with the white embossing and layout of this sweet card, but I, of course, wanted it larger, and thought a bit more color, dimension, and texture would be good as well.


I checked out several Splitcoaststamper challenges to see what I could do to enter some of the challenges in trying to play challenge catch-up.  One Featured Stamper challenge card confirmed more brown tones would probably work well.  I added a Soft Suede cardbase and enlarged my card layers.  I changed my sentiment layer ink to a darker brown shade and left off the tree panel's corner ribbon...I thought it was too much and liked it more simple!  


I wasn't sure how Liz accomplished the snowfall, but I used a sponged-tipped make-up pen in Versamark w/ white embossing, a white gel pen for smaller snow, and added a bit of fine glitter to tree surface.  I also thought the tree would be extra pretty if it was layered.  I stamped and white embossed two additional trees, fussy cut them (lots of detailed cutting), and popped each layer up, one over the other, using large thick glue dots as I wanted the popping up to be more subtle than using dimensionals.


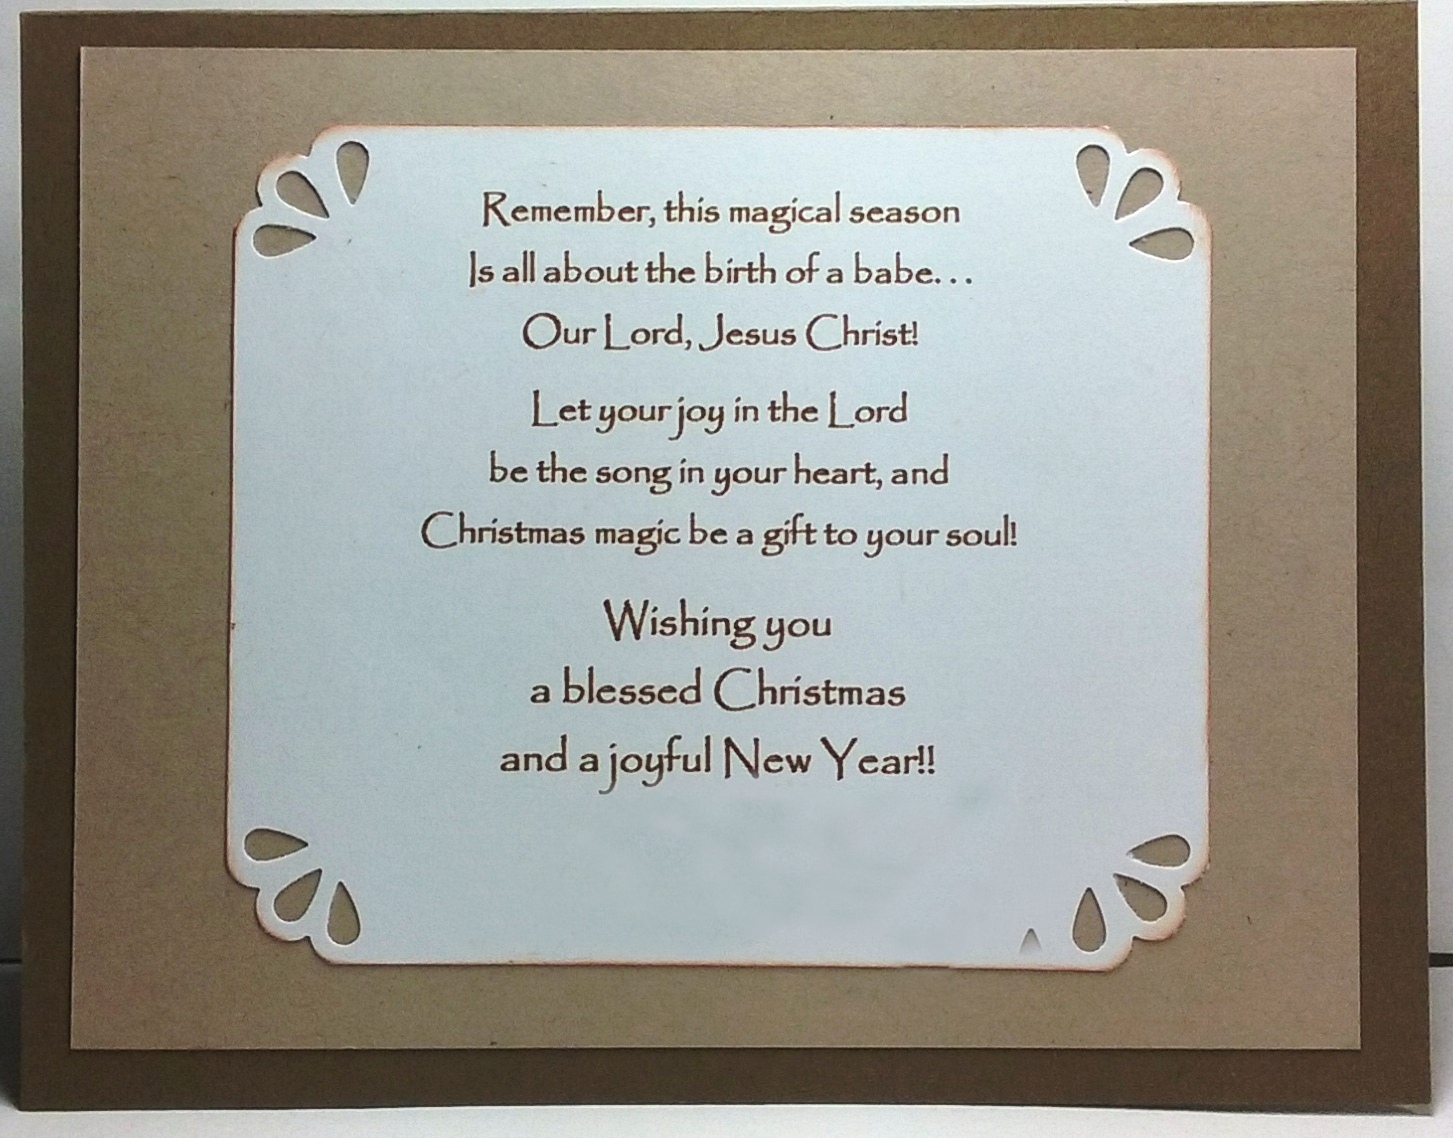
I was really happy with the layered tree popping...it added so much depth, plus I like the white gel pen and bit of glitter for more texture and sparkle.  This was the perfect card to send to my niece in Bend, Oregon where they are sure to see a white Christmas.  Take a peek below at my card finished inside and out.


Ingredients:  Stampin' Up products--  Cardstock/ Crumb Cake, Soft Suede, Very Vanilla.  Stamps--Winter Wood (sentiment/ tree) (2019-20 Annual).  Dies--Stitched Brightly (embossed boughs-2019 Holiday.  Ink/ Soft Suede; Versamark Watermark.  Embossing Powder/ White (tree + snow drops).  White Gel pen.  Punch/ Curvy Corners (retired).  Other:  Recollections Fine white glitter.  Fussy-cutting.  1/2" glue dots (popping tree).  Chatterbox verse.  Size: 4-3/4 x 6 inches.

Monday, December 16, 2019

Happiest Christmas Wishes!

Working on my sixth Totally Lovin' Christmas make over.  I loved the non-traditional colors on this card, but somehow the layout just didn't really send me over the top, so I changed up the whole card, which keeping most of the colors, the ornament image, and sentiment.

Meanwhile, I enlarged my card closer to an A6 card sized by adding an Early Espresso cardbase and a lime glitter paper mat layer.  Next, the original Perfect Peacock cardbase became the card front color.  I rotated the peacock foil patterned piece to vertical and added a lime glitter paper mat layer.  

For my image layer, I cut down the size of the ornament layer and added layers below the image to make it a three-layer combination.  I die-cut the bottom Pretty Peacock layer with a decorative layer die modified to leave only one curly bracket shape on its right side to host the vertical sentiment.  I wanted more color so I incorporated both the lime and peacock colors on my ornament with Copic markers.  To the lime coloring, I added a bit of Wink of Stella-Clear to give it some shimmer.  To finish, I Versamark stamped and heat embossed the vertical sentiment with Early Espresso embossing powder and popped on three peacock-colored rhinestones.

This is a very non-traditional colored Christmas card!  Take a peek below at the finished inside and outside designs.


Ingredients:  Stampin' Up products:  Cardstock--Early Espresso, Pretty Peacock.  Patterned--Noble Peacock Specialty paper.  Stamps--Lots of Cheer (sentiment/ ornament - 2019-20 Annual).  Dies:  Labels Collections (retired).  Embossing Powder--Early Espresso (retired).  Holiday Rhinestones (2019 Holiday).  Punch (inside): Curvy Corners (retired).  Other products:  DCWV Glitter Paper--Olive; EK Corner Punch: Victorian Corners.  Copic Markers (lt. aqua (pool parlty)/ olive (olive).  Wink of Stella: Clear.  A6-4-1/2 x 6-1/4 inch cards.

Friday, November 29, 2019

Joyful Season

Here's another redesigned Christmas card from Liz's November Totally Lovin' Christmas.  I did quite a bit of rearranging, adding and subtracting, basically changing the card design almost entirely.  I used the original stamped wreath image, but colored it with my Copic markers, and the red glitter strip with the bell, though I moved the bell upward about an inch.   I made the wreath panel into a 2-1/2-inch square rather than a 3-inch rectangle and repositioned it near the top rather than at the bottom.  I did leave the red glitter mat layer beneath.
.
I enlarged my card to an A6 size by adding a new cardbase layer, and added festive patterned Christmas paper for the top front layer.  I added Clear heat embossing to this paper to give it some sheen.  The patterned paper really perked up the card and brought it to life.  I chose a new and larger sentiment stamped on the same green as the cardbase and added it to a red glitter mat layer shaped with a decorative die.  I popped both the wreath and the sentiment up off the patterned paper front.

I am delighted with the finished look and like all the additional sparkle and sheen.  I then created a decorative inside design to coordinated with the outside.  Take a peek below at the finished card inside and out!


Ingredients:  Stampin' Up products:  Cardstock--Whisper White, Pear Pizzazz, Red Glimmer paper.  Stamps--Lots of Cheer (wreath/ sentiment).  Dies--Labels Collection.  Linen Thread. Mini Jingle Bells (2019 Holiday).  Other:  Patterned paper--Candy Candy/ Holly Stripe/ unknown.  Zutter corner punch.  Copic markers--Wreath Bells--G40, G21, YG68, G07; Ribbon--R01, R32, R37, R39 (lots of blending).  Wink of Stella Glitter Pen--Clear.  Chatterbox verse.  Size: 4-1/2 x 6-1/4.

Saturday, November 23, 2019

Happy Christmas & To All Goodnight!

I made Christmas cards while visiting my 94-year old Mom in California during October and early November.  We made a crafting mess on her dining room table for two week...but what fun it was!  I traveled down with a 10-card kit with pictures from Liz Thayer's Totally Loving Christmas cardmaking session in November.  As her cards are traditional the A2 size (4-1/4 x 5-1/2 inches), and I prefer cards a bit larger, I usually remodel them to fit my preferred size.  Meanwhile, I make modifications to the design by adding or subtracting bits and pieces to make it more me.  Sometimes I change a lot and sometimes I change just a little.

To help Mom out, I decided to give her the A2 card kits and make new pieces for myself, adding to the designs as desired.  But, then Mom saw what I was doing to mine and she liked that too, so I ended up adding new pieces to the card kits as well.

Below is my first remodel.  The card was originally done in gray, red, and white.  I decided that it needed a bit more sparkle by bringing out the lovely gold metallic ribbon edging.  I removed the gray panel and added a gold foil layer that I texturized by embossing with the Sparkle embossing folder.  This really brought the card to life!  I then designed an inside that coordinated with the outside.  Take a peek below at the finished card.


Ingredients:  Stampin' Up products:  Cardstock--Whisper White, Real Red.  Patterned:  Wrapped in Plaid 6x6 Pack (2019 Holiday).  Stamps: Greatest Part of Christmas (2019 Holiday).  Dies: Frosted Frames (2019 Holiday).  Sparkle Embossing Folder.  Ribbon: 3/8" Gold Metallic Edge--Very Vanilla (2019-20 Annual).  Iced Stampin' Glitter (2019 Holiday).   Recollections 8-1/2 x 11 Gold Foil Paper Pack.  Memento Tuxedo Black Ink.  EK Punch: Victorian Corners.  Chatterbox verse.  Size: 4-1/2 x 6-1/4.  (Thank you Liz Thayer for basic card design).